How to Make a Sloped Lawn into Tiers: The Step by Step Guide
Updated guide: Creating a practical two-tier garden on a slope with a wooden sleeper retaining wall
Sloped gardens waste usable space and can be hard to maintain or enjoy. Creating levels (terracing) turns a difficult slope into functional areas — seating or lawn above, planting or veg below, for example — while improving drainage and access. This method uses a timber sleeper retaining wall supported by wooden posts for tiers up to about 1 m retained height. It is one of the more accessible DIY approaches for modest garden work, but it is labour-intensive, physically demanding, and sensitive to site conditions.
Critical caveats before you start
This is practical guidance based on common UK landscaping practice, not structural engineering advice. Soil type (especially clay), groundwater, surcharge loads (paths, vehicles, buildings above), and slope angle all affect forces on the wall. Inadequate drainage is the most common cause of failure through hydrostatic pressure.
- Walls retaining more than ~600–900 mm often benefit from (or require) structural input. Above ~1 m retained height, or near buildings/highways/boundaries, Building Regulations Part A and a structural engineer’s design are typically needed.
- Planning permission is usually not required under permitted development for garden walls under 1 m next to a highway or under 2 m elsewhere, but check local rules, conservation areas, and the Party Wall etc. Act 1996 if excavating near neighbouring foundations (3 m / 6 m rules apply).
- Hire a mini digger for anything beyond a small job. Check for underground services before digging.
- Sleepers are heavy; use correct lifting technique and PPE. Install a barrier or rail if the drop could pose a risk (especially with children).
- Softwood has a limited lifespan even when treated; oak lasts longer. Expect 15–25 years in good conditions with proper drainage — less if water sits against the timber.
If the slope is steep, the retained height approaches 1 m, ground conditions are poor, or you have any doubt, engage a structural engineer and/or experienced landscaper.
Design considerations
Measure the total drop accurately (laser level is best). Decide the height of the upper tier so that neither level requires excessive cut or fill. Factor in:
- Sun path and intended use of each level.
- Access — steps or a gentle path between tiers.
- Existing features, boundaries, and drainage routes.
- Planting to help bind soil and soften the wall.
A single large level is often the desire, but two modest tiers are usually more practical, affordable, and structurally realistic.
Tools
- Laser level or spirit level + string line + measuring tape
- Trenching spade, post-hole diggers / auger
- Mini digger (recommended)
- Saw, impact driver / drill
- Tamping tool or plate compactor
- Staple gun or fixings for membrane
- Hose / watering can
- PPE (gloves, boots, eye protection, dust mask when cutting treated timber)
Materials (for a typical post-and-rail sleeper wall)
- UC4 pressure-treated softwood sleepers (commonly 100 × 200 mm) or green/air-dried oak for longer life. Specify UC4 for ground contact.
- 100 × 100 mm or preferably 150 × 150 mm UC4-treated posts (stronger section preferred).
- Heavy-duty galvanised or stainless hex bolts / coach screws (M12 or equivalent).
- Postcrete or concrete.
- Geotextile membrane (e.g. Terram-style) + pond liner or bituminous protection on the rear face of the sleepers.
- 100 mm perforated land drain (AG pipe) + clean angular aggregate (20 mm).
- Staples or suitable fixings.
- Skip for spoil.
- Topsoil, plants, and any paving for the finished surfaces.
Step-by-step
1. Measure the drop and plan the levels
Establish the overall height difference from top to bottom. Decide the finished height of the upper tier so the wall stays within practical limits (ideally ≤1 m retained) and balances cut/fill. Mark the line of the retaining wall clearly. Consider a slight lean (batter) of the face into the bank for stability.
2. Excavate
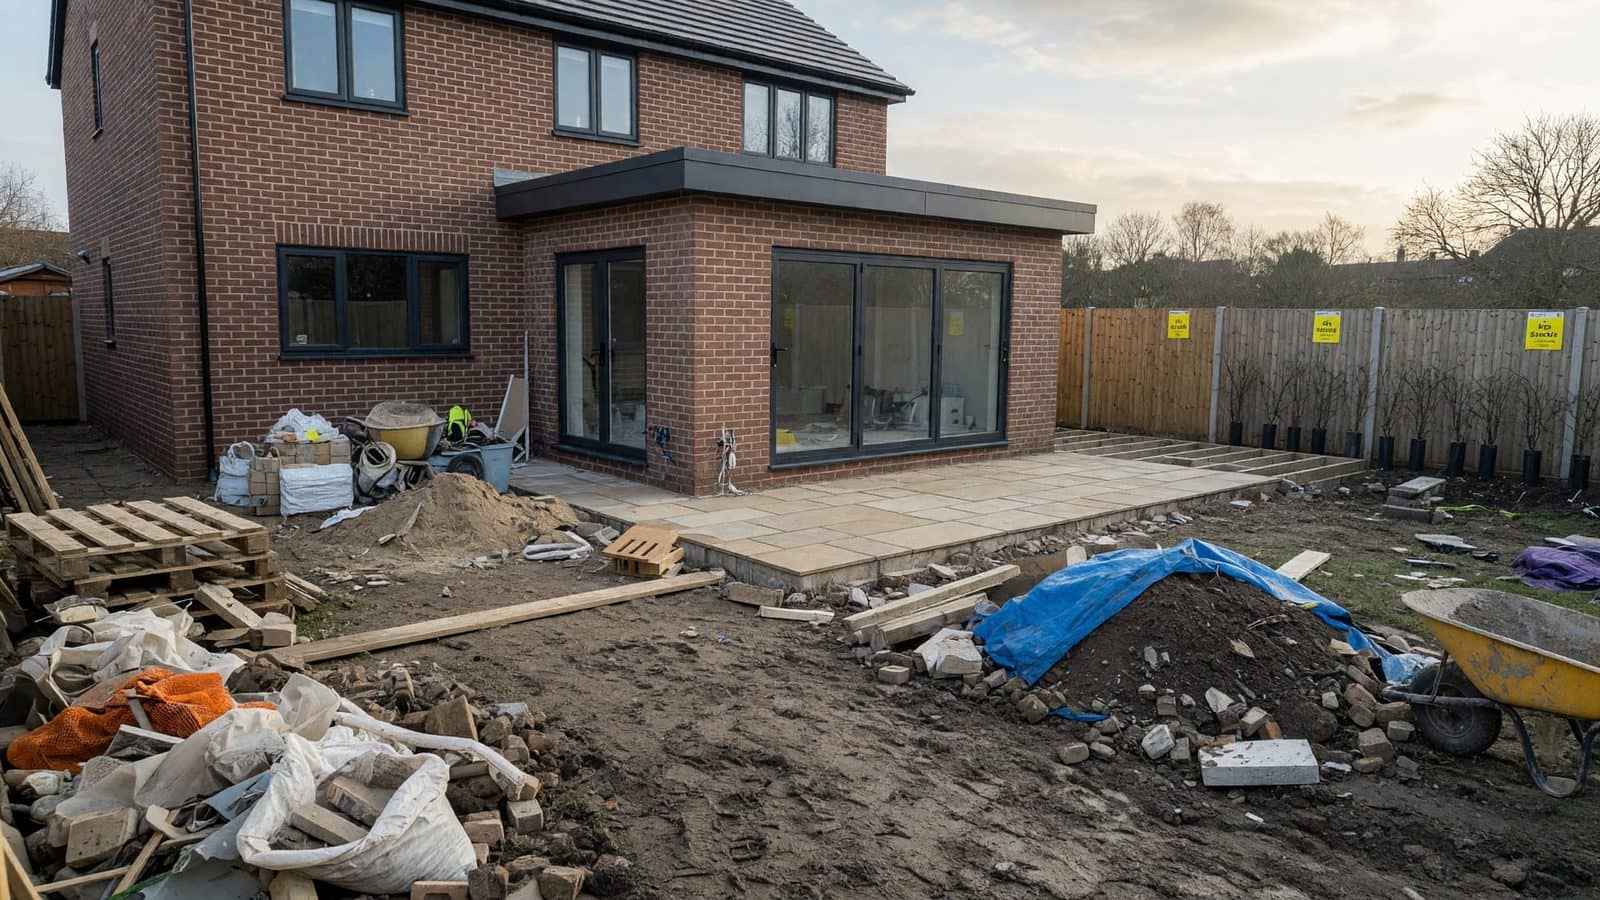
Dig out to the planned wall line and create working space. Rocky clay is common in many UK gardens — a trenching spade or digger makes the difference. Stockpile topsoil separately if you will reuse it. Keep the excavation as neat as practical and manage spoil promptly.
3. Install the support posts
Posts should sit at least 600 mm in the ground (deeper is better for higher walls or softer ground) and finish roughly 100 mm below the eventual top of the wall. Space them no more than 1.2 m centres. Set them plumb with a slight lean back into the retained soil. Concrete them solidly and allow at least 24–48 hours to cure before loading. Pressure-treated timber is essential.
4. Install drainage and membrane (do not skip this)
At the base, lay a perforated land drain on a slight fall (minimum 1:100) to a suitable outlet. Surround it with clean angular aggregate and wrap the drainage zone in geotextile to stop fines clogging it. Create a continuous free-draining gravel zone (100–150 mm+) immediately behind the wall for its full height. Attach pond liner or a waterproof membrane to the rear face of the sleepers to reduce direct soil contact and moisture saturation of the timber. Grade the ground above the wall so surface water sheds away from it.
5. Fix the sleepers
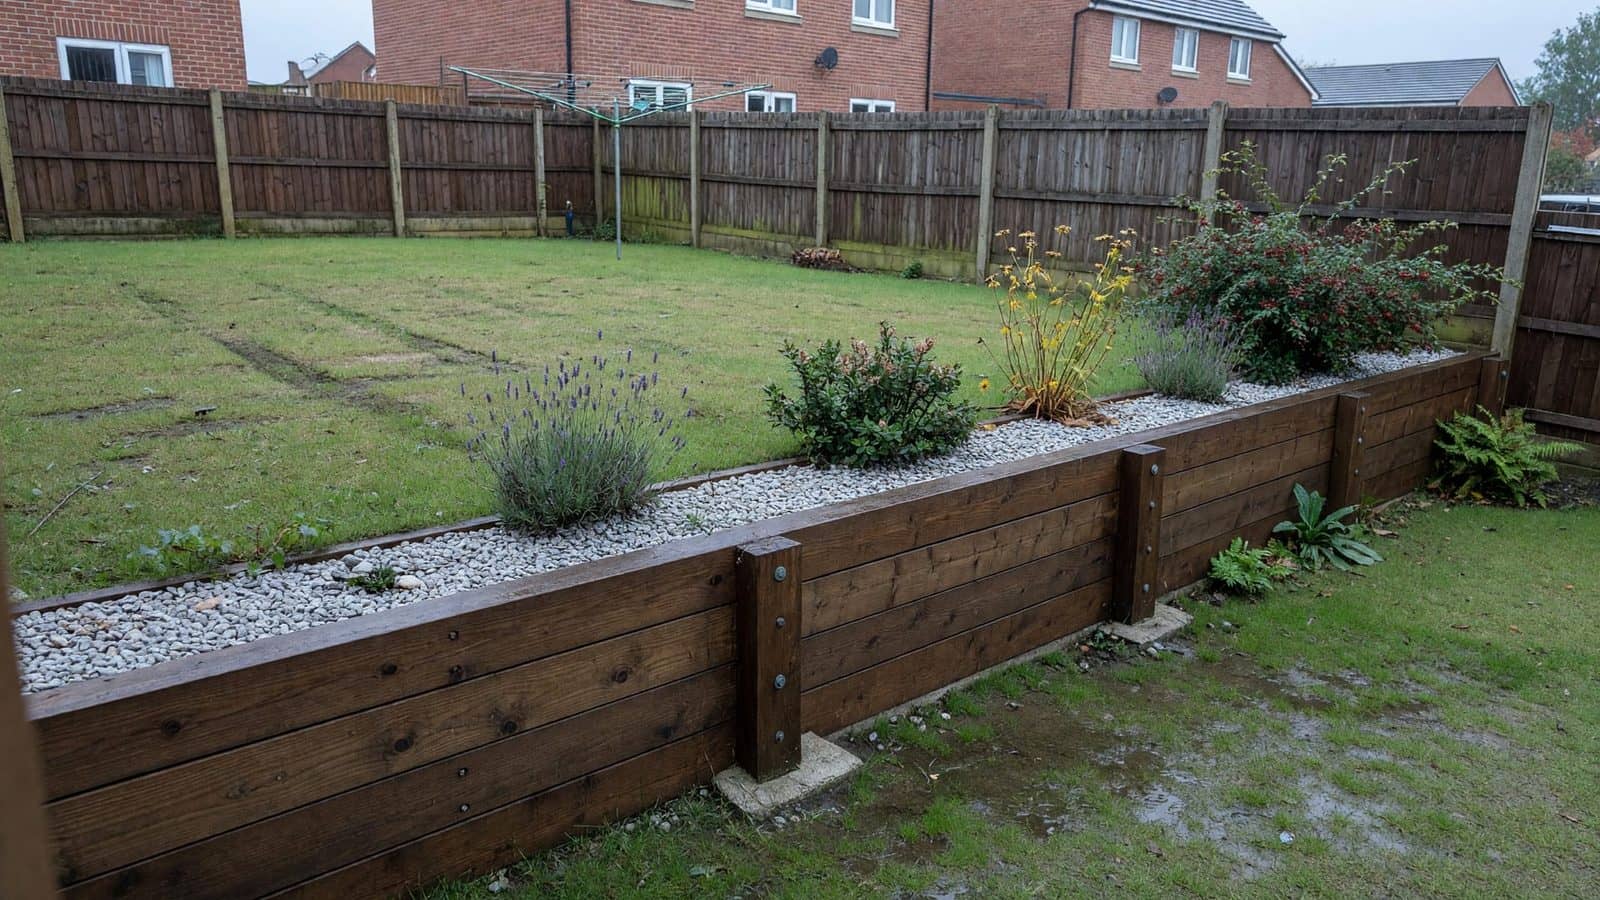
Bolt the sleepers horizontally to the posts in a staggered (brick-bond) pattern so vertical joints do not line up. Use substantial fixings and pre-drill where necessary. Keep courses level. For walls approaching 1 m, consider adding deadman anchors (horizontal sleepers buried back into the bank and tied to the wall) every 1.5–2 m for extra resistance to overturning.
6. Backfill and level the upper tier
Backfill in layers, compacting as you go. Use free-draining material immediately behind the wall, then the retained soil. Tamp thoroughly. Fine-tune the upper surface with a spirit level so it is even and falls slightly away from the wall if needed.
7. Finish the edges and lower level
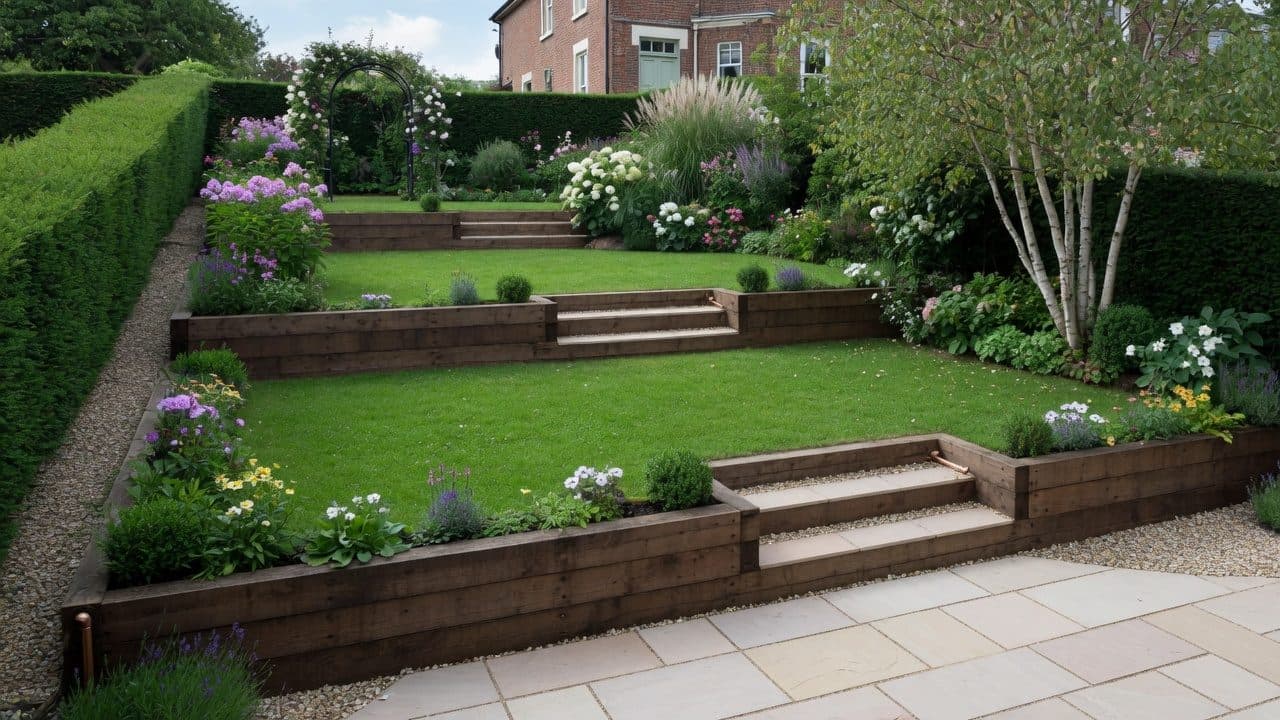
Install decorative borders, raised beds, or steps as required to tidy the transition and hide any residual slope. Top the upper level with topsoil and plant. On the lower tier, prepare a proper base and lay paving (Indian sandstone is a popular durable choice that sits well with timber). Ensure falls for drainage.
8. Safety barrier and final details
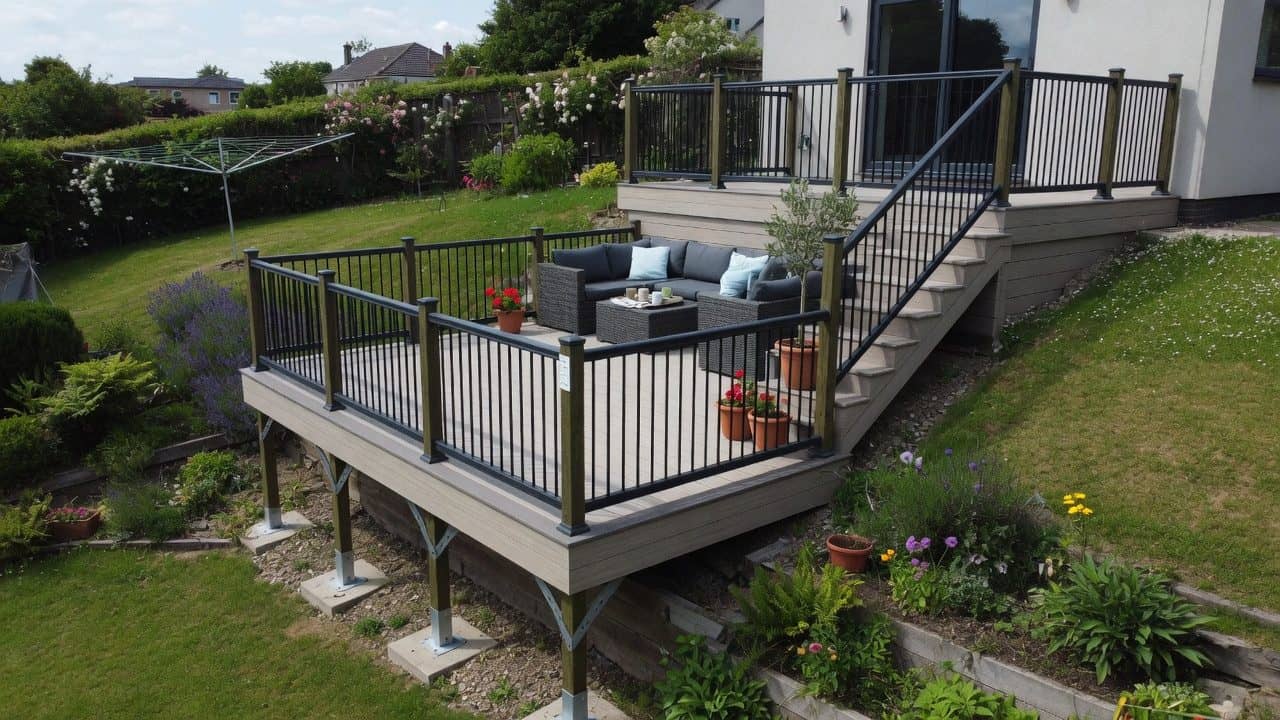
Install a robust barrier or rail along the top of the wall if the drop presents a fall risk. This is especially important with young children. Complete planting to stabilise soil and improve appearance.
Maintenance and longevity
Inspect annually for movement, leaning, or blocked drainage. Keep weep paths and the land drain clear. Retreat any cut ends of timber with appropriate preservative. Softwood walls will eventually need replacement; oak or switching to concrete sleepers extends life significantly. Avoid planting large trees close to the wall.
When to stop and call a professional
- Retained height over ~900 mm–1 m
- Poor ground, high water table, or clay that heaves
- Any surcharge (driveway, building, steep bank above)
- Proximity to boundaries, highways, or existing structures
- Uncertainty about drainage routes or loads
A well-built two-tier sleeper wall creates far more usable, attractive garden space than a continuous slope. Done carefully with proper drainage and realistic height limits, it is a practical and attractive solution. Done poorly, it becomes an expensive failure. Measure twice, prioritise drainage, and know when the job exceeds DIY territory.
Related services
Prefer a professional install in Preston & the North West? Explore the services that match this guide.
Enjoyed this guide?