How to Install a Drainage Cube Soak Away
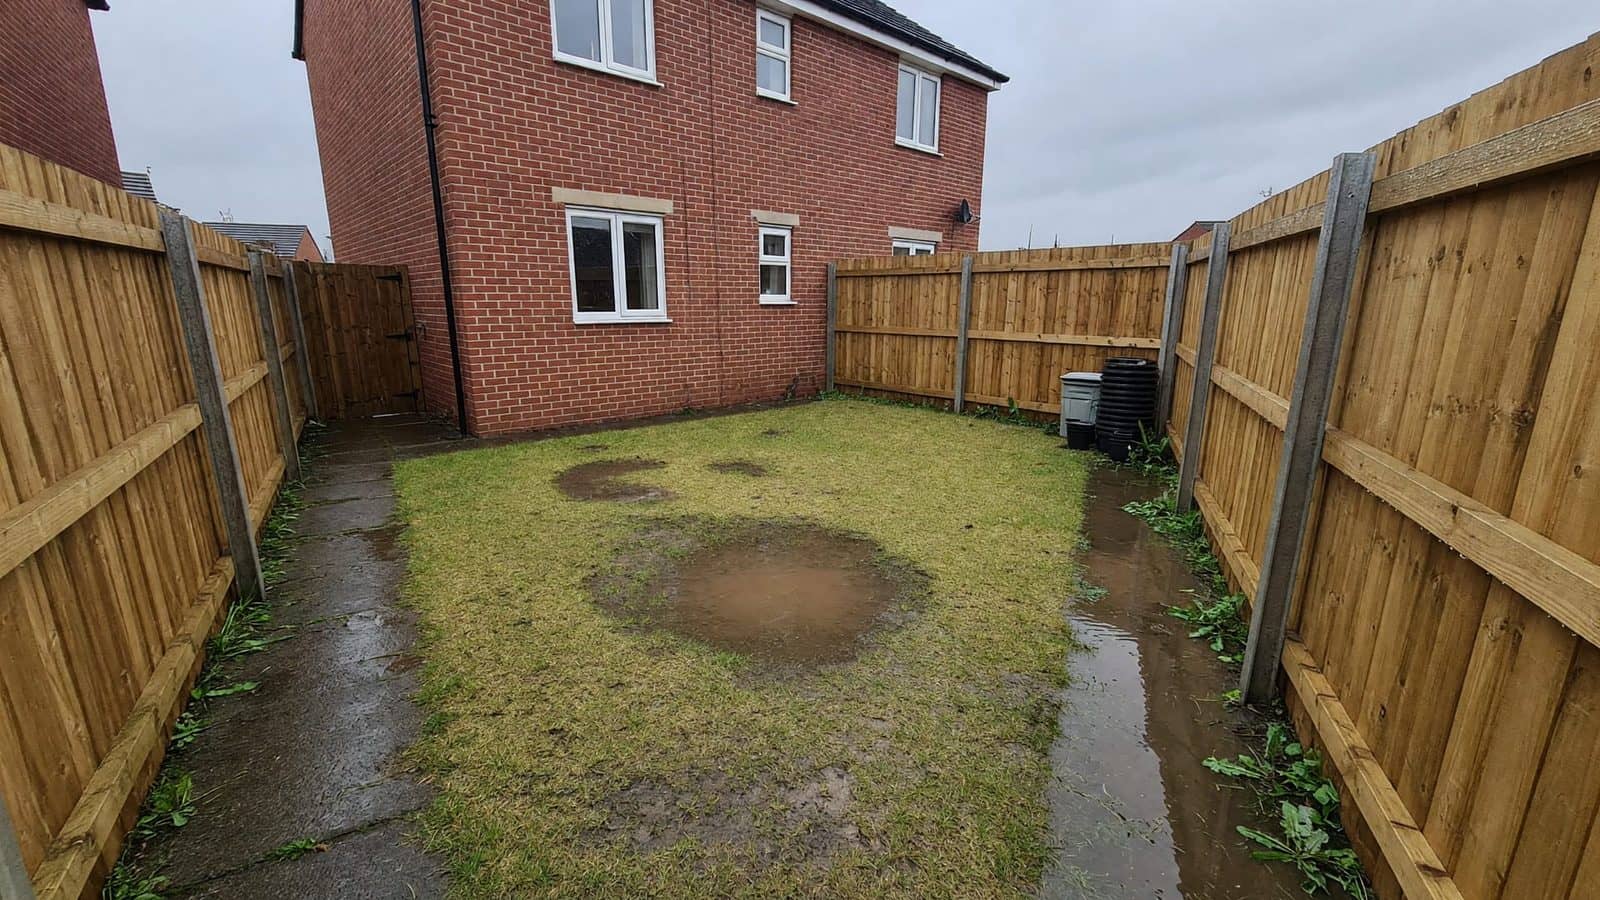
Soakaway crates (drainage cubes) are one of the best modern solutions for managing surface water in gardens — especially on the heavy clay soils common around Preston and much of Lancashire.
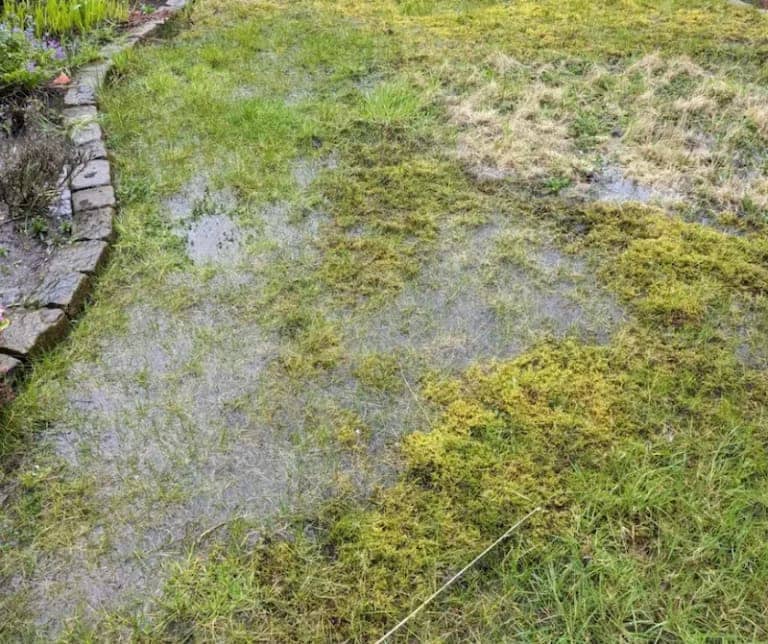
Traditional rubble-filled pits take up more space, hold less water, and silt up faster. Plastic crates give you around 95% void space, so a compact system stores far more water and infiltrates it gradually back into the ground. This helps prevent waterlogging, protects paving and lawns, and keeps surface water away from buildings during heavy rain.
Here’s a more complete, practical guide.
Before You Start – Critical Checks
Building Regulations (Approved Document H) make soakaways the preferred option for surface water where the ground allows it. Key rules:
- At least 5 metres from any building or structure (measured from foundations).
- At least 2.5 metres from boundaries.
- Well clear of trees (roots will seek the moisture and can damage the system).
- Position it downhill from the area you’re draining so water flows naturally toward it.
Most important: Carry out a percolation test (BRE Digest 365 method). Dig trial holes, fill them with water, and time how quickly the level drops. Heavy clay often drains too slowly for a standard soakaway to work reliably. On very poor ground the system can simply fill and overflow like a buried pond. If the test fails, you’ll need an alternative (connection to a watercourse or sewer, or a larger attenuation system).
For most domestic gardens a single or double crate system is enough, but size properly against the impermeable area (roof, patio, driveway) and the actual infiltration rate of your soil.
Materials You’ll Typically Need
- Soakaway crates (modular plastic units, usually ~1 m × 0.5 m × 0.4 m)
- Non-woven geotextile membrane (to wrap the whole system)
- Clean 10–20 mm pea gravel or sharp sand (never MOT Type 1 – the fines clog everything)
- 110 mm underground drainage pipe and fittings
- Silt trap / catch pit (strongly recommended – stops debris entering the crates)
- Cable ties or manufacturer clips
Step-by-Step Installation
1. Position the soakaway
Choose the lowest practical point that still meets the 5 m / 2.5 m rules. Avoid made ground or filled areas. Mark the outline, allowing extra space all round for the gravel surround (usually 150 mm).
2. Size it correctly
Calculate storage volume based on the area draining into it and local rainfall intensity. A rough starting point on reasonably permeable ground is about 1 m³ of storage per 50 m² of impermeable surface, but clay soils often need more. Crates give known void volumes, so you can work out exactly how many units you need. When in doubt, go bigger or get the calculation checked.
3. Excavate the hole
Dig to the required depth and footprint, plus allowance for a 100–150 mm gravel bed underneath, side fill, and cover above the crates. Keep the base level and the sides as vertical and stable as possible. Avoid smearing the clay walls (this reduces infiltration) – roughen them with a spade if needed.
4. Line and install
- Spread a level bed of clean gravel or sand.
- Line the entire excavation with geotextile membrane, leaving plenty of excess to wrap over the top later.
- Assemble and place the crates, interlocking them securely.
- Connect the incoming pipe (from downpipes, channels or linear drains) through a carefully cut opening in the membrane so silt cannot enter. A silt trap immediately upstream is one of the best investments you can make.
- Fold the membrane completely over the top of the crates, overlapping generously (300 mm minimum) so the whole unit is fully enclosed.
5. Backfill and finish
Backfill carefully around the sides with clean stone or as the manufacturer specifies. Compact lightly in layers without distorting the crates. Cover the top with more membrane if required, then a layer of gravel, and reinstate the surface (turf, gravel, planting, etc.). Leave an inspection access point if possible.
Aftercare and Longevity
A well-installed crate system needs very little maintenance if a silt trap is fitted and emptied regularly. Check the trap after heavy leaf fall or storms. The geotextile should keep the voids clear for decades if installed properly.
When to Call a Professional
On heavy clay, restricted gardens, or where Building Control inspection is required (new builds, extensions, or significant drainage alterations), professional installation is usually the safer and faster route. Correct positioning, sizing against a proper percolation test, and clean execution make the difference between a system that works for 20+ years and one that fails in the first wet winter.
Done right, soakaway crates turn a problem area into a reliable, low-visibility drainage solution that protects your garden and property even in prolonged Lancashire downpours.
Related services
Prefer a professional install in Preston & the North West? Explore the services that match this guide.
Enjoyed this guide?