How to Build a Slatted Fence – Expert Tips and Advice
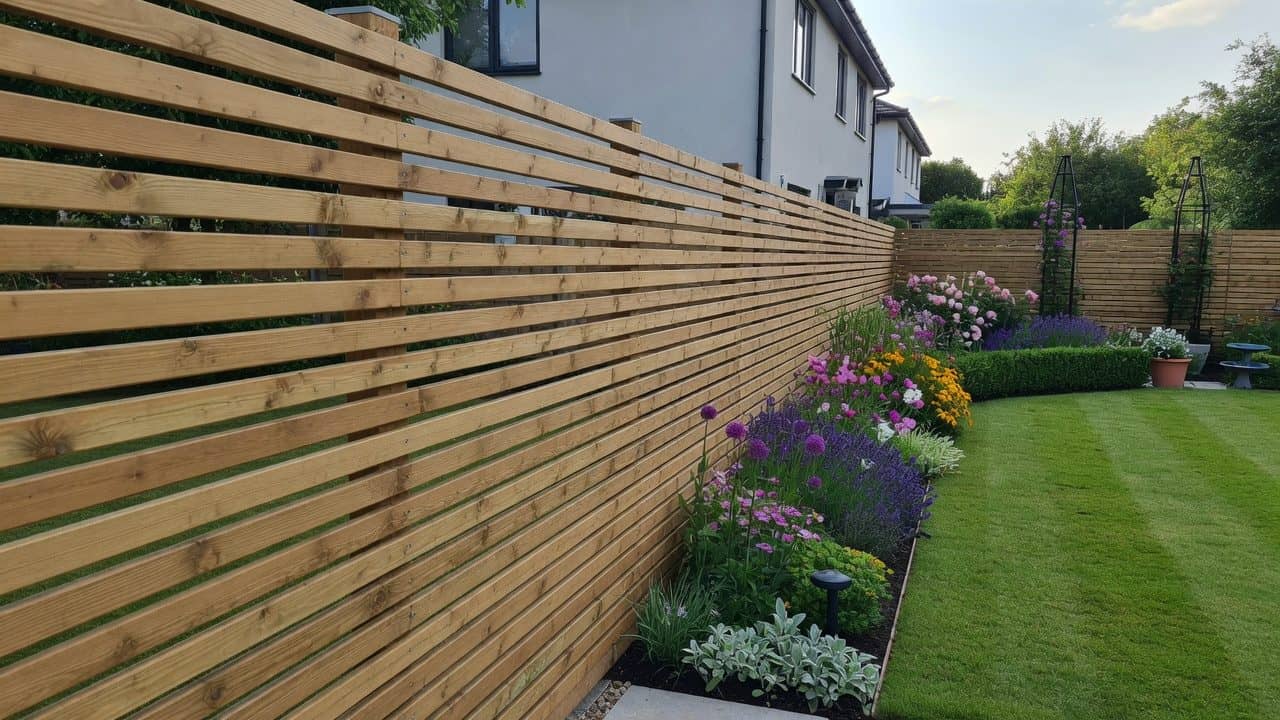
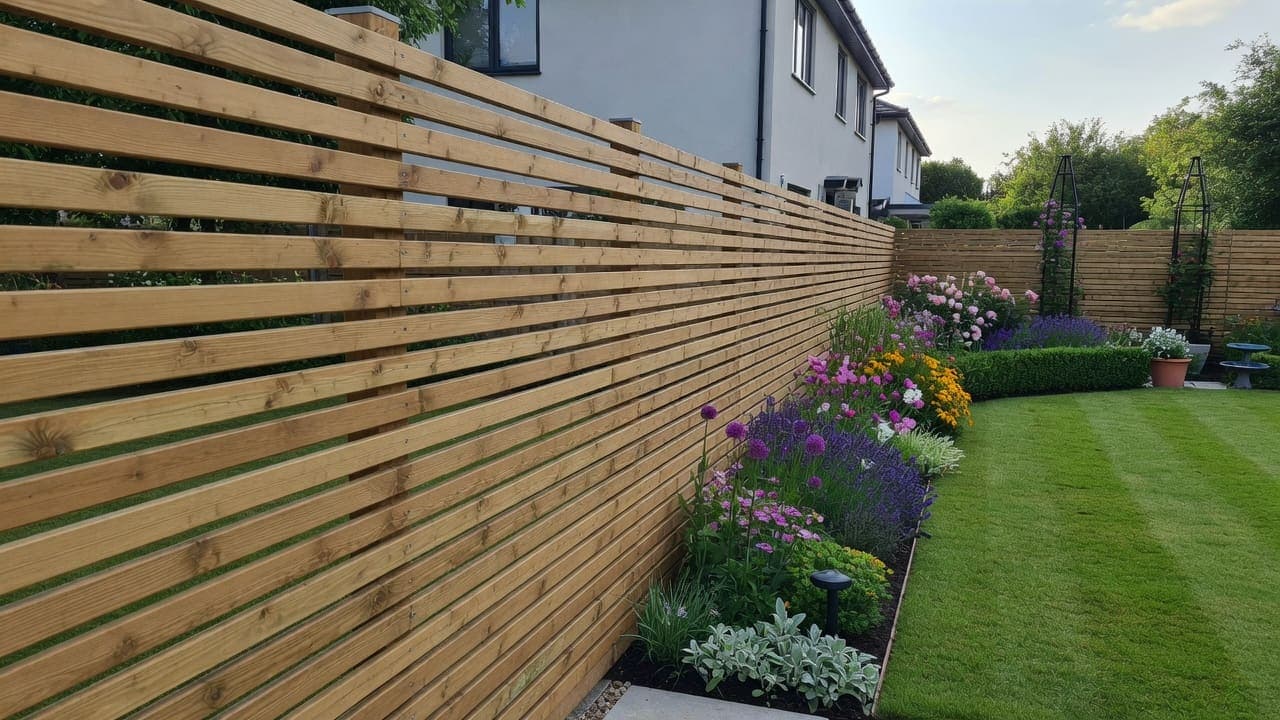
Slatted fencing is a popular contemporary choice that offers privacy while still allowing light and air to pass through. It looks great in modern gardens and pairs well with composite decking and porcelain paving.
A simple step by step guide on how to build a slatted fence. Written by professional installers and includes diagrams, tools and tricks of the trade.
Step 1: Plan the fence line
Mark post positions (usually 1.8m–2.4m apart).
Step 2: Install the posts
Set sturdy posts in concrete or post mix. Make sure they are perfectly vertical.
Step 3: Fix the rails
Attach horizontal rails between the posts at the top, middle and bottom.
Step 4: Attach the slats
Fix the vertical slats at your desired spacing (typically 10-20mm gaps for a modern look). Pre-drill to avoid splitting.
Step 5: Finish the fence
Add capping rails on top and any desired treatment or stain for longevity.
Professional tips
- Use a string line for perfect alignment across the whole run.
- Choose good quality pressure-treated timber or hardwood for the slats.
- The horizontal lines of slatted fencing can make a narrow garden feel wider.
- Combine with planting in front or behind for a softer look.
This style looks great combined with planting and modern garden designs.
Related services
Prefer a professional install in Preston & the North West? Explore the services that match this guide.
Enjoyed this guide?